Easy Low-Calorie Bakery-Grade Pandan Chiffon Cake (3-Layer 6" Cake)
Easy Low-Calorie Bakery-Grade Pandan Chiffon Cake (3-Layer 6" Cake)
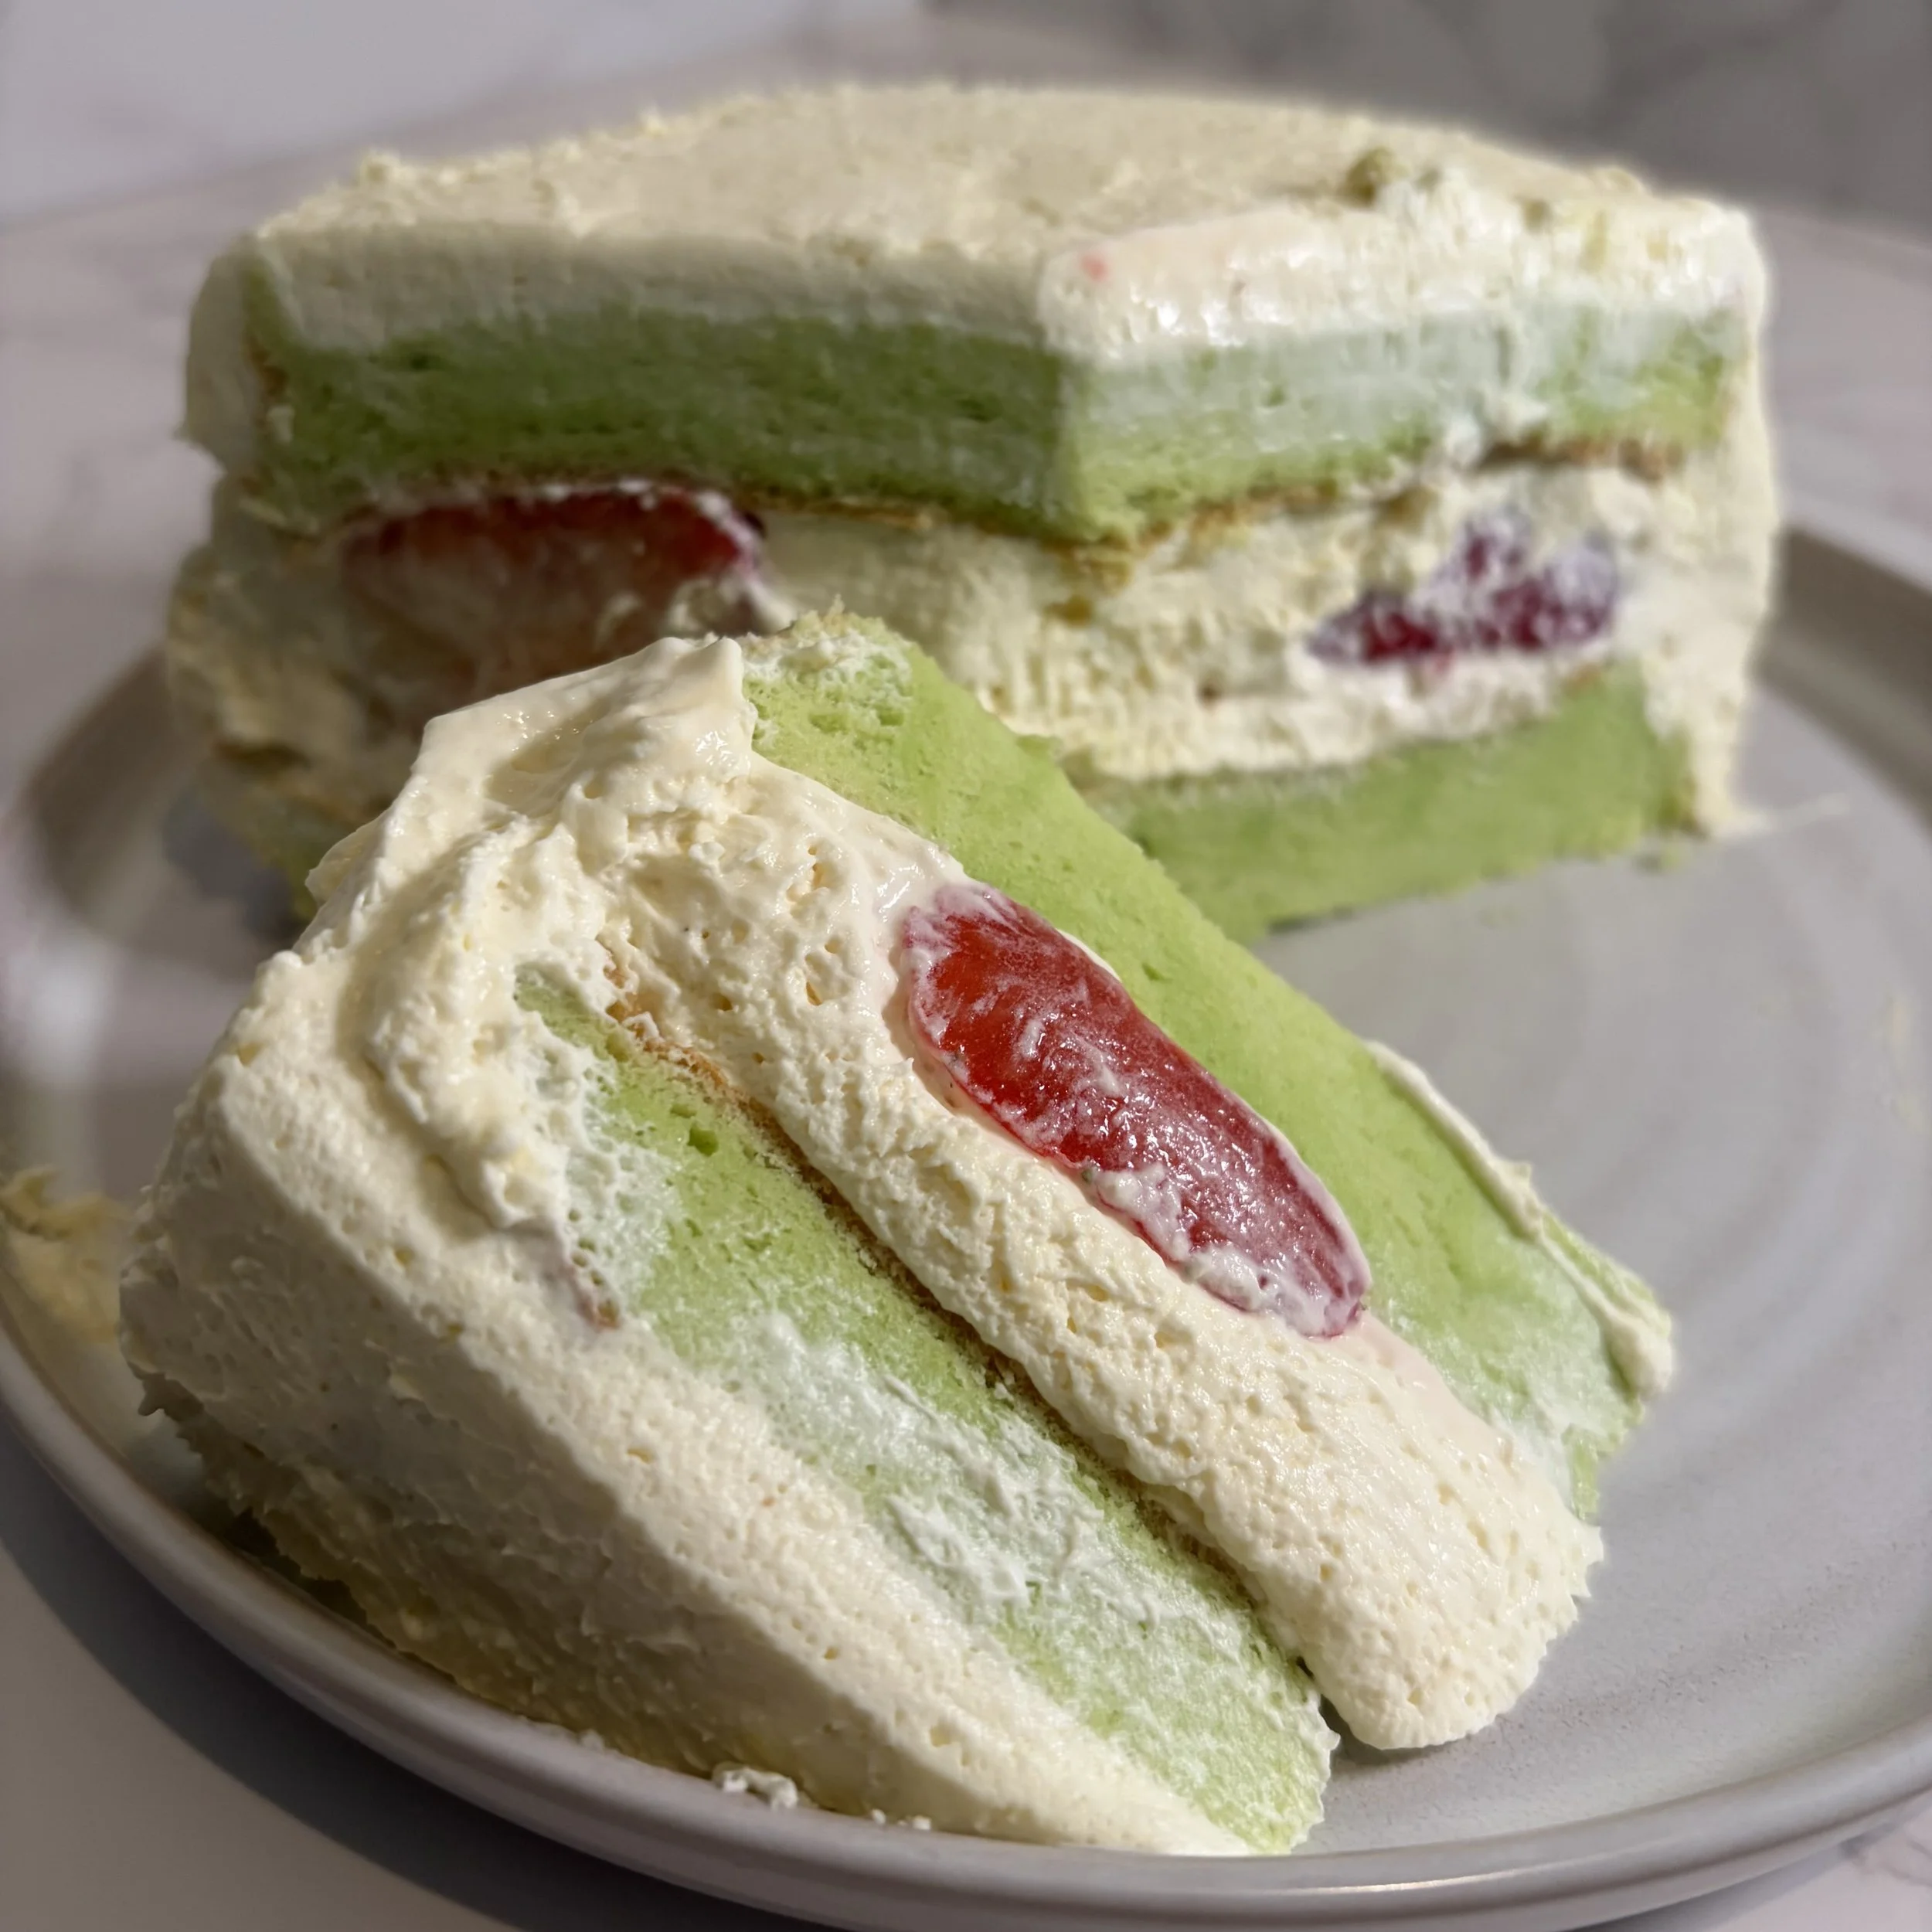
Traditional Asian bakery pandan cakes are loaded with refined sugar and heavy coconut fat that send the calorie count through the roof. This scaled-down, single 3-layer 6" cake uses granulated allulose, light coconut milk, and a whipped chiffon method to deliver an ultra-tender, aromatic green sponge for around 100 calories per unfrosted slice.
📊 Macro Summary
⚖️ Serving Size: 1 Slice (Makes 6 slices / 1 3-layer 6" cake)
🔥 Calories: 235 kcal
💪 Protein: 5.3g
🌾 Carbs: 11.1g (10.8g Net Carbs)
🥑 Fat: 18.9g
🌾 Fiber: 0.3g
(Note: Base pandan sponge alone per slice is 101 kcal | 4.5g P | 5.2g F | 8.6g C. Whipped cream adds roughly 134 kcal per slice; use less frosting or leave it semi-naked to keep calories even lower).
🛒 Ingredients
Pandan Yolk Base:
🥚 3 large egg yolks (room temperature)
🍬 20g granulated allulose (approx. 1.5 tbsp)
🥥 35g light coconut milk (approx. 2.5 tbsp)
🥑 15g neutral oil (avocado, canola, or light vegetable)
🌿 1 tsp pandan paste/extract (adjust for color and aroma)
✨ 1/2 tsp pure vanilla extract
🌾 55g cake flour (sifted)
🌽 5g cornstarch (approx. 1/2 tbsp)
🧂 1/8 tsp fine sea salt
Chiffon Meringue:
🥚 4 large egg whites (room temperature, strictly free of yolk grease)
🍋 1/4 tsp cream of tartar (or 1/2 tsp fresh lemon juice)
🍬 35g granulated allulose
Light Stabilized Whipped Cream:
🥛 225g heavy whipping cream (8 oz / 1 cup, refrigerator cold)
🍮 10g sugar-free instant vanilla pudding mix (approx. 1 tbsp dry powder)
🍬 12g Swerve Confectioners (approx. 1 tbsp, sifted)
✨ 1/2 tsp pure vanilla extract
🧂 1 tiny pinch fine salt
🥣 Step-by-Step Instructions
Prep the Pans & Oven: Preheat your oven to 325°F (160°C). Line the bottoms of three 6-inch round, straight-sided aluminum cake pans with parchment rounds. Do not grease the sides of the pans—the chiffon batter needs ungreased sides to cling to and climb as it rises.
Whisk the Green Yolk Base: In a medium mixing bowl, whisk the 3 egg yolks and 20g allulose until pale and smooth. Whisk in 35g light coconut milk, 15g neutral oil, 1 tsp pandan paste, and 1/2 tsp vanilla extract until vibrant green. Sift the 55g cake flour, 5g cornstarch, and 1/8 tsp salt over the mixture, then gently whisk just until no dry flour streaks remain. Do not overmix.
Whip the Meringue: In a spotless, oil-free bowl, beat the 4 egg whites with an electric hand mixer on medium speed until frothy. Add 1/4 tsp cream of tartar (or 1/2 tsp lemon juice). Gradually stream in the 35g allulose while increasing the speed to medium-high. Whip until firm, glossy peaks form with tips that curl gently when the beaters are lifted.
Fold the Batter: Gently fold one-third of the whipped meringue into the green yolk batter using a silicone spatula to lighten the consistency. Add the remaining whites in two batches, folding in slow upward-sweeping circular motions from the bottom of the bowl to preserve the trapped air.
Bake & Tap: Divide the batter evenly among the three prepared 6-inch pans (about 70g–75g per pan). Tap the pans firmly on the counter once to dislodge large air pockets. Bake at 325°F (160°C) for 18–22 minutes, or until the tops spring back lightly to a gentle touch.
Invert to Cool: Immediately invert the pans onto wire racks or elevated cups to cool upside down completely. Once 100% cooled to room temperature, run a thin offset spatula around the edges to release the sponges. Wrap in plastic wrap and refrigerate if not frosting immediately.
Chill Equipment & Whip the Frosting: Place your mixing bowl and mixer whisk/beaters in the freezer for 10–15 minutes to chill thoroughly before starting. Add the cold heavy cream, sugar-free instant pudding mix, Swerve Confectioners, vanilla, and pinch of salt to the chilled bowl. Beat with your chilled beaters on medium-high speed for 1.5–2 minutes until medium-stiff peaks form.
Assemble: Place the first green sponge layer onto a plate. Spread a thin, even layer of whipped cream on top. Repeat with the second and third layers. Lightly coat the exterior or leave the sides bare for a semi-naked look. Chill for at least 30 minutes before slicing.
💡 Macro Tweaks & Baking Tips
Slash the Frosting to Save Calories: The whipped cream carries over half the calories and almost all the fat in this recipe. To drop the calories per slice down to ~150 kcal, use only half the whipped cream (4 oz heavy cream total) and assemble the cake "naked-style," spreading cream only between the layers and leaving the vibrant green sides exposed.
Always Chill the Bowl & Whisk: Heavy cream whips faster, traps air more efficiently, and holds its structural volume significantly better when your gear is ice-cold. Throwing both the bowl and your beaters into the freezer for 10–15 minutes prevents the dairy fat from warming up and going soft during mixing.
The Extra Egg White Advantage: Adding 4 egg whites instead of 3 provides extra structural lift and volume. Because allulose does not crystallize like standard sugar to support air bubbles, that bonus egg white compensates by creating a firmer protein matrix.
Lemon Juice vs. Cream of Tartar: Both provide the necessary acid to stabilize the whipped egg whites. If you don't have cream of tartar in your spice rack, an equal volume of fresh lemon juice (1/2 tsp for this scaled batch) works just as well without altering the flavor profile.
Why Granulated Allulose Is Essential: Do not swap allulose for erythritol. Allulose behaves like real sugar: it absorbs moisture, avoids recrystallizing when chilled, and prevents the sponge from drying out.
🚀 Want to fast-track your fat loss without eating boring food? Check out my 1-on-1 coaching options to get a custom plan built around your lifestyle.
🍳 Equipment Spot
Want the exact setup I used here?
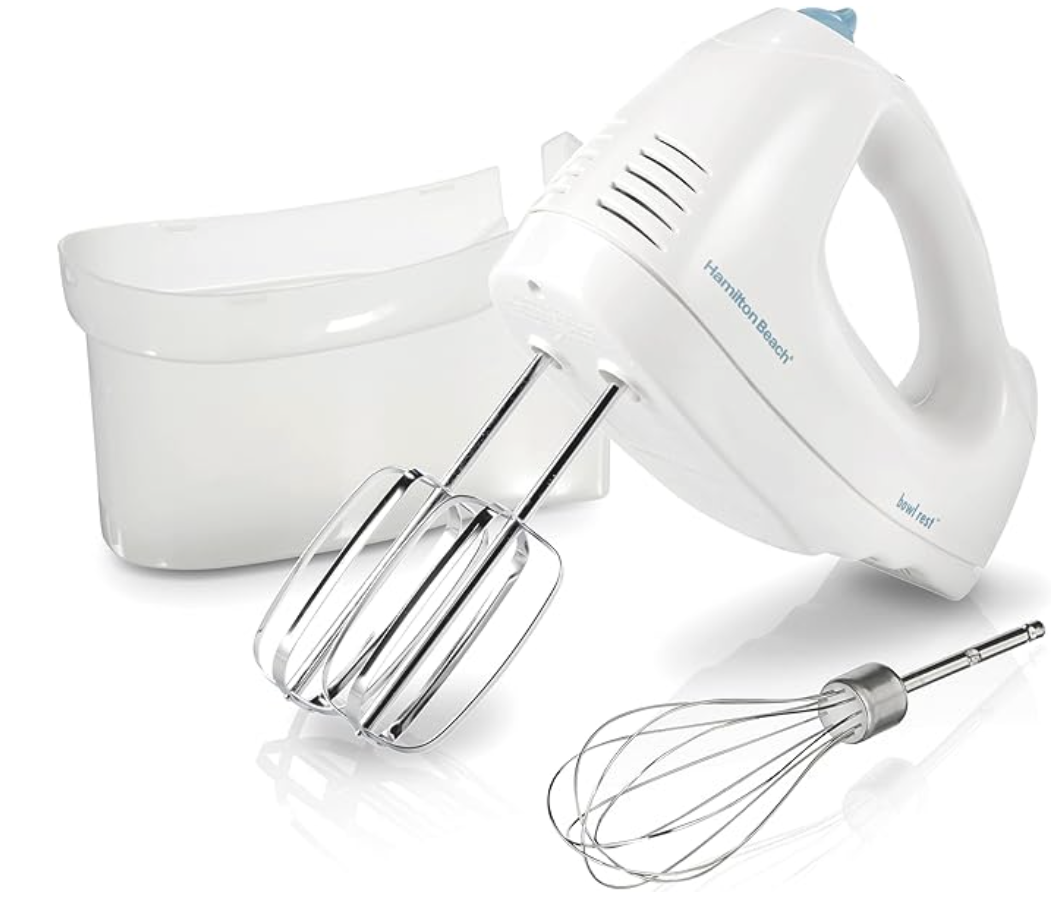
Whipping meringue to stable peaks without deflating your arms requires a reliable tool. I used the Hamilton Beach 6-Speed Electric Hand Mixer With QuickBurst and Bowl Rest—the built-in bowl rest keeps your counters clean while switching between the yolk batter and meringue, and the speed control prevents over-beating delicate whites. Note: Links above are affiliate links that support the blog at no extra cost to you.